sequenceDiagram
autonumber
participant Client
participant Config as "~/.ssh/config"
participant PrivateKey as "id_ed25519 (private)"
participant KnownHosts as "~/.ssh/known_hosts"
participant Server
Client->>Client: ssh-keygen creates id_ed25519 + id_ed25519.pub
Client->>Server: ssh-copy-id adds id_ed25519.pub to server's authorized_keys
note over Client,Server: Setup completes before the first key-based login
Client->>Config: Read host alias, user, IdentityFile
Client->>PrivateKey: Load private key from ~/.ssh/
Client->>Server: Open TCP connection on port 22
Server-->>Client: Send host key + algorithms
Client->>KnownHosts: Compare host key with stored entry
KnownHosts-->>Client: Match? (warn if new/changed)
Client->>Server: Negotiate crypto, derive session key
Server->>Client: Request proof of identity
Client->>PrivateKey: Sign challenge with id_ed25519
Client->>Server: Return signature for verification
Server-->>Client: Validate signature, open session
[WIP] Work In Progress
Why
ssh aka “secure shell”1 allows you to securely connect from machine to machine. It allows you to go beyond just a prompt — You can copy files between machines, electronically sign and verify documents, and set up secure remote sessions with Visual Studio Code (VS Code) — just for a few examples.
VS Code has integrated features that make remote editing very direct and easy. Once we set up ssh we’ll talk about how to integrate it into your development practices.
How - ssh
But - to get started you need a few things.
ssh and friends rely on Public Key Cryptography. As the name suggests, public key cryptography relies on “keys” or, more specifically, a “key pair”. A key pair is two chunks of information — One that you can share freely / publically (the public key), and another that you keep secret (the private key). It is computationally difficult2 to determine one from the other, but, given the public key, it is easy to match it to the private key. It is this magic that allows your key to unlock passwordless communication between machines.
The Tools
All macOS, most Linux, and some Windows distributions have OpenSSH3 built in, otherwise you can easily install it.
The ssh family of commands mostly start with ssh.4 On my machine —
λ ssh ⟨tab⟩
Completing external command
ssh          ssh-add      ssh-agent    ssh-copy-id  ssh-keygen   ssh-keyscan  sshd
We mainly care about —
ssh- the main application (client) you use to connect to other machines.ssh-keygen- generates a key.ssh-copy-id- moves the keypair around to different machines.
The remaining commands are the sshd host5 and commands for dealing with the authentication agent.6
We also care about a special hidden directory and the files inside it —
λ ls ~/.ssh
config  id_ed25519  id_ed25519_github  id_ed25519_github.pub
id_ed25519_picam  id_ed25519_picam.pub  id_ed25519.pub
id_rsa id_rsa.pub known_hosts~/.ssh/- the hidden directory “dot-ssh” in your home directory (~).config- configuration forssh.known_hosts- a list of approved connections.id_***- private keys.id_***.pub- public keys - one to match each private key.
Getting started
The very first thing you need to do is generate a keypair. You only need to do this once per machine, or, if you’re clever about moving things around, you can manage a single key, especially for some tasks (like GitHub access for example). To do this, we use ssh-keygen —
λ ssh-keygen -t ed25519 -C 'flip@flipphillips.com'

Generating public/private ed25519 key pair.
Enter file in which to save the key (/Users/fxpppr/.ssh/id_ed25519): ⟨return⟩
Created directory '/Users/fxpppr/.ssh'.
Enter passphrase for "/Users/fxpppr/.ssh/id_ed25519" (empty for no passphrase): ⟨return⟩
Enter same passphrase again: ⟨return⟩
Your identification has been saved in /Users/fxpppr/.ssh/id_ed25519
Your public key has been saved in /Users/fxpppr/.ssh/id_ed25519.pub
The key fingerprint is:
SHA256:EFLBHwy5pPzYiCd96hN5HqQBRTfrImfNd4gYmk8rYqU flip@flipphillips.com
The key's randomart image is:
+--[ED25519 256]--+
|   o+oB=         |
|  .  o++o        |
|   o.ooo .       |
|   o+*oo..       |
|  ++*X= S .      |
|  =*Oo*. .       |
|.E.oo* .         |
|.. .o .          |
|   ...           |
+----[SHA256]-----+
For insane security, you can specify a password for your keys, and it can be anything; But, to make your life easier, and as long as these keys aren’t guarding a nuclear arsenal, you can just ⟨return⟩ through them for an empty prompt. Believe it or not this is usual practice (you do keep your keys secure with proper access permissions, right?)
If you look in your ~/.ssh you’ll see that they were created for you —
λ ls ~/.ssh

id_ed25519  id_ed25519.pub
and if you look closely at their permissions you’ll see —
...
-rw------- 1 fxpppr staff 411 Sep 17 14:04 id_ed25519
-rw-r--r-- 1 fxpppr staff 103 Sep 17 14:04 id_ed25519.pub
...
The public key, id_ed25519.pub, has user+read, user+write, group+read, and world+read, pretty much everyone can see it but not change it. Only you can do that. The private key only has user+read and write permissions. No one else can see it.7 You want to protect the private key since it is the way you identify yourself. Anyone who has your private key can ‘be’ you. Anyone with your public key can challenge you to see if they match.
The option -t ed25519 tell ssh-keygen to create an ed25519 key, which is current ‘best practice’ for key security. The -C 'flip@flipphillips.com' option gives the contact information for the key. Neither of these are necessary. If you don’t specify a key type, it defaults to an rsa key which is still pretty secure, but not currently the ‘best’. If you omit the -C it creates an anonymous email, so simply running ssh-keygen will get you all you need, just different types of keys and anonymous.
There are other useful things like the fingerprint of your key8 and a randomart image that I still don’t know the purpose of, other than being fun to look at. I presume that it, like the fingerprint are ways to verify / validate your key, but I’ve never had to use either in a normal setting.
Logging In
What do we do with these? Let’s start with the simplest, easiest use of the ssh key — Logging in to a remote machine.
Usually, logging in requires you to enter your username and password. When you ssh to another machine, the same typically applies. Let’s see what happens when we try to ssh into a machine in the lab —
λ ssh mystery.magic.rit.edu

The authenticity of host 'mystery.magic.rit.edu (129.121.222.123)' can't be established.
ED25519 key fingerprint is SHA256:6LsvBhYxtw27j7BHotO8nSIdjGHWIAt7Yr4He6Eo.
This key is not known by any other names.
Are you sure you want to continue connecting (yes/no/[fingerprint])? yes ⟨return⟩
The first time you log in, you are asked if you want to continue connecting. This is because ssh doesn’t recognize the host in its database of “places we’ve been before”. If you’re pretty sure you’re actually connecting to the machine, you can just answer yes to the promt and move on. This puts a copy of the machine’s public key in the ~/.ssh/known_hosts file and, therefore, won’t ask you in the future.9
After you answer yes you see —
Warning: Permanently added 'mystery.magic.rit.edu' (ED25519) to the list of known hosts.
(fxpppr@mystery.magic.rit.edu) Password:
Notice that it is asking about fxpppr@mystery.magic.rit.edu. It is using my username on the machine I’m logged into (fxpppr because it’s an RIT managed machine.). Hopefully my account on that machine is also fxpppr, because that’s what it is asking for. If it is not (I use flip for machines I control because I’ve used flip as a login for decades.) you have to specify it in the command —
λ ssh flip@mystery.magic.rit.eduEither way, if you respond to the password correctly10 you’re logged in and good to go.
λ ssh mystery.magic.rit.edu
(fxpppr@mystery.magic.rit.edu) Password: type_password⟨return⟩

Last login: Wed Sep 17 15:06:56 2025 from 50.108.178.99

fxpppr in 🌐 mystery in ~
λ
The first lines are typed on the host you want to access from. Then, from Last login: forward, it is the remote machine responding. Note that my prompt is set up to tell me the name of the remote machine and which directory I am in, when I’m logged in remotely fxpppr in 🌐 mystery in ~. This says user fxpppr logged into (world = my icon for remote machines) named mystery and I’m in the ~ or my home directory.
I can now go about acting like I am logged directly into that remote machine —
fxpppr in 🌐 mystery in ~
λ hostname

mystery

fxpppr in 🌐 mystery in ~
λ ls Music

'Audio Music Apps'/   GarageBand/   Music/
To logout, I can just logout or ^D
But Let’s Make It Easier
One of the most useful things to use your ssh keys for is logging in without having to type a password. To do that, the remote machine needs to ‘know’ about you, and how does it know? By you copying your public key to it so you can compare keys next time you log in!
The easy way to do that is to use ssh-copy-id from your local machine to the host11 —
λ ssh-copy-id mystery.magic.rit.edu

/usr/bin/ssh-copy-id: INFO: Source of key(s) to be installed: ssh-add -L
/usr/bin/ssh-copy-id: INFO: attempting to log in with the new key(s), to filter out any that are already installed
/usr/bin/ssh-copy-id: INFO: 3 key(s) remain to be installed -- if you are prompted now it is to install the new keys
(fxpppr@mystery.magic.rit.edu) Password:

Number of key(s) added:        3

Now try logging into the machine, with: "ssh 'mystery.magic.rit.edu'"
and check to make sure that only the key(s) you wanted were added.
You are presented with some information about the number and type of keys to be copied and then asked for your password on the remote machine. If everything comes up Millhouse, you will receive the bottom message tellying you to test your copy. And if we do that now —
λ ssh mystery.magic.rit.edu

Last login: Wed Sep 17 15:30:00 2025 from 50.108.178.88

fxpppr in 🌐 mystery in ~
λ
Notice that it logged us right in — no password! It compared the keys and said you were OK, so we’ll let you in.12 This part of the process is important for doing things like remote editing, because you don’t want to have to constantly type your password.
Let’s look at that now.
What Happens Under The Hood
Here’s a sequence diagram that illustrates the SSH key-based authentication process. You read it left-to-right, top-to-bottom —
How — Remote Editing in VS Code
This is the fun part. Let’s say I want to edit a file on a machine in the lab that isn’t my primary workstation. How do I do it?
There are a few prerequsites —
- You need a
sshkey on your local machine. - You need to copy that key to the remote machine.
We’ve just been through that above, so if you can ssh into a remote machine without a password like we did up there, you’re good to go.
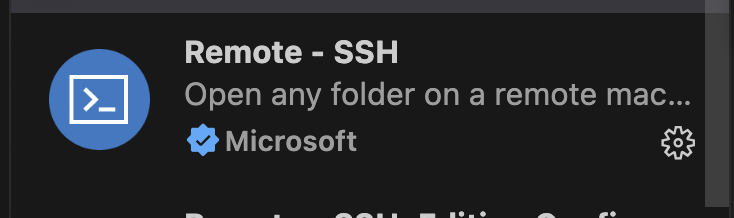
On your local machine you need the Microsoft Remote SSH plugin installed —
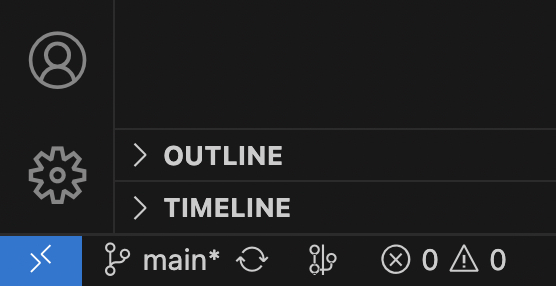
and when you click on the lower-left corner of VS Code, the remote-access panel —
the main menu offers you a selection of ways to remotely connect —
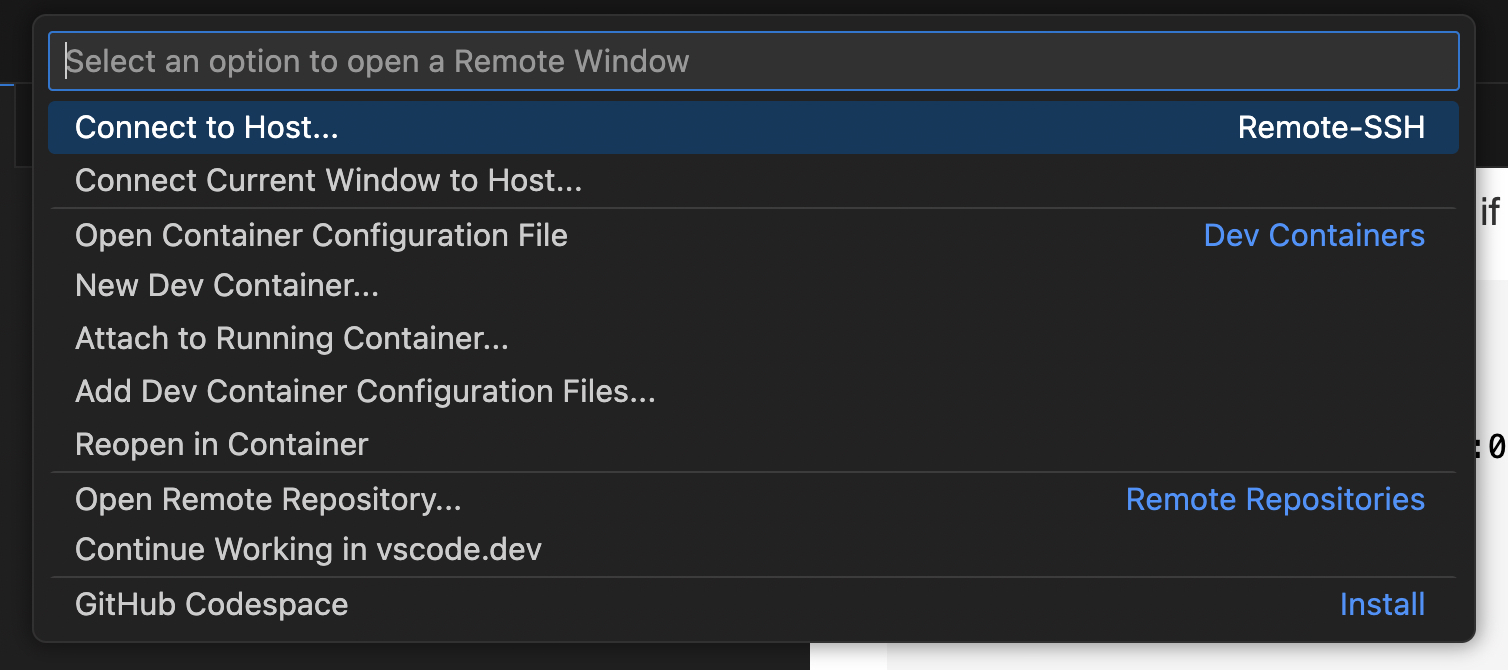
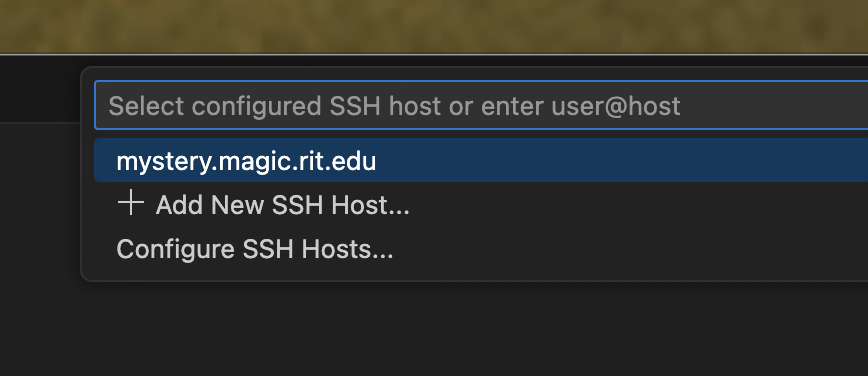
The Connect to Host... shows that it is via the Remote-SSH plugin, and when you click on it you are presented to select or create a new host —

Now. You can dive right in and enter, say, heybuddy@mystery.magic.rit.edu into the box, good enough for a one-off edit session. To make it better we can Add or Configure a new ssh host. Let’s try Add —

You can see I put the command for logging in to the remote machine (don’t forget the ssh at the beginning) followed by -A but you only need this if you’re doing agent forwarding, and I mentioned before this is an advanced topic, so you can usually just leave it out for now.
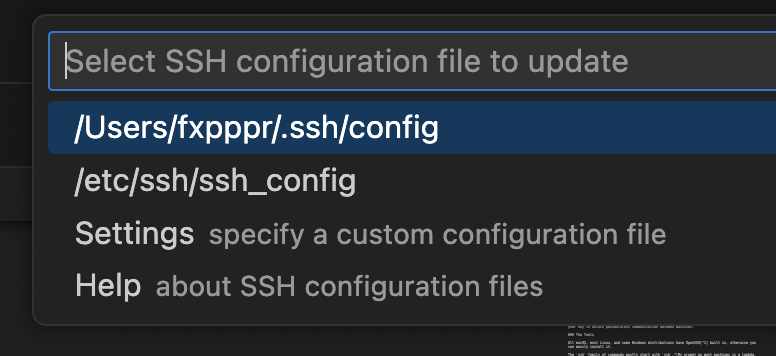
It will ask you which ssh configuration file to put it in. Unless you have specific reasons, you can just put it in your default ~/.ssh/config file13
Now, on my local machine, I have an entry in the config file that looks like —
λ cat ~/.ssh/config

Host mystery.magic.rit.edu
  HostName mystery.magic.rit.edu
  User fxpppr
  ForwardAgent yes
If you’re clever, you can edit this file to make it easier to specify hosts in the future by giving them a nickname, and there are countless other options that you might want to set. Regardless, once you’re here, you’re 99% done. The next time you come back, VS Code will read your config file for hosts and populate the connect menu so you don’t need to enter it again!
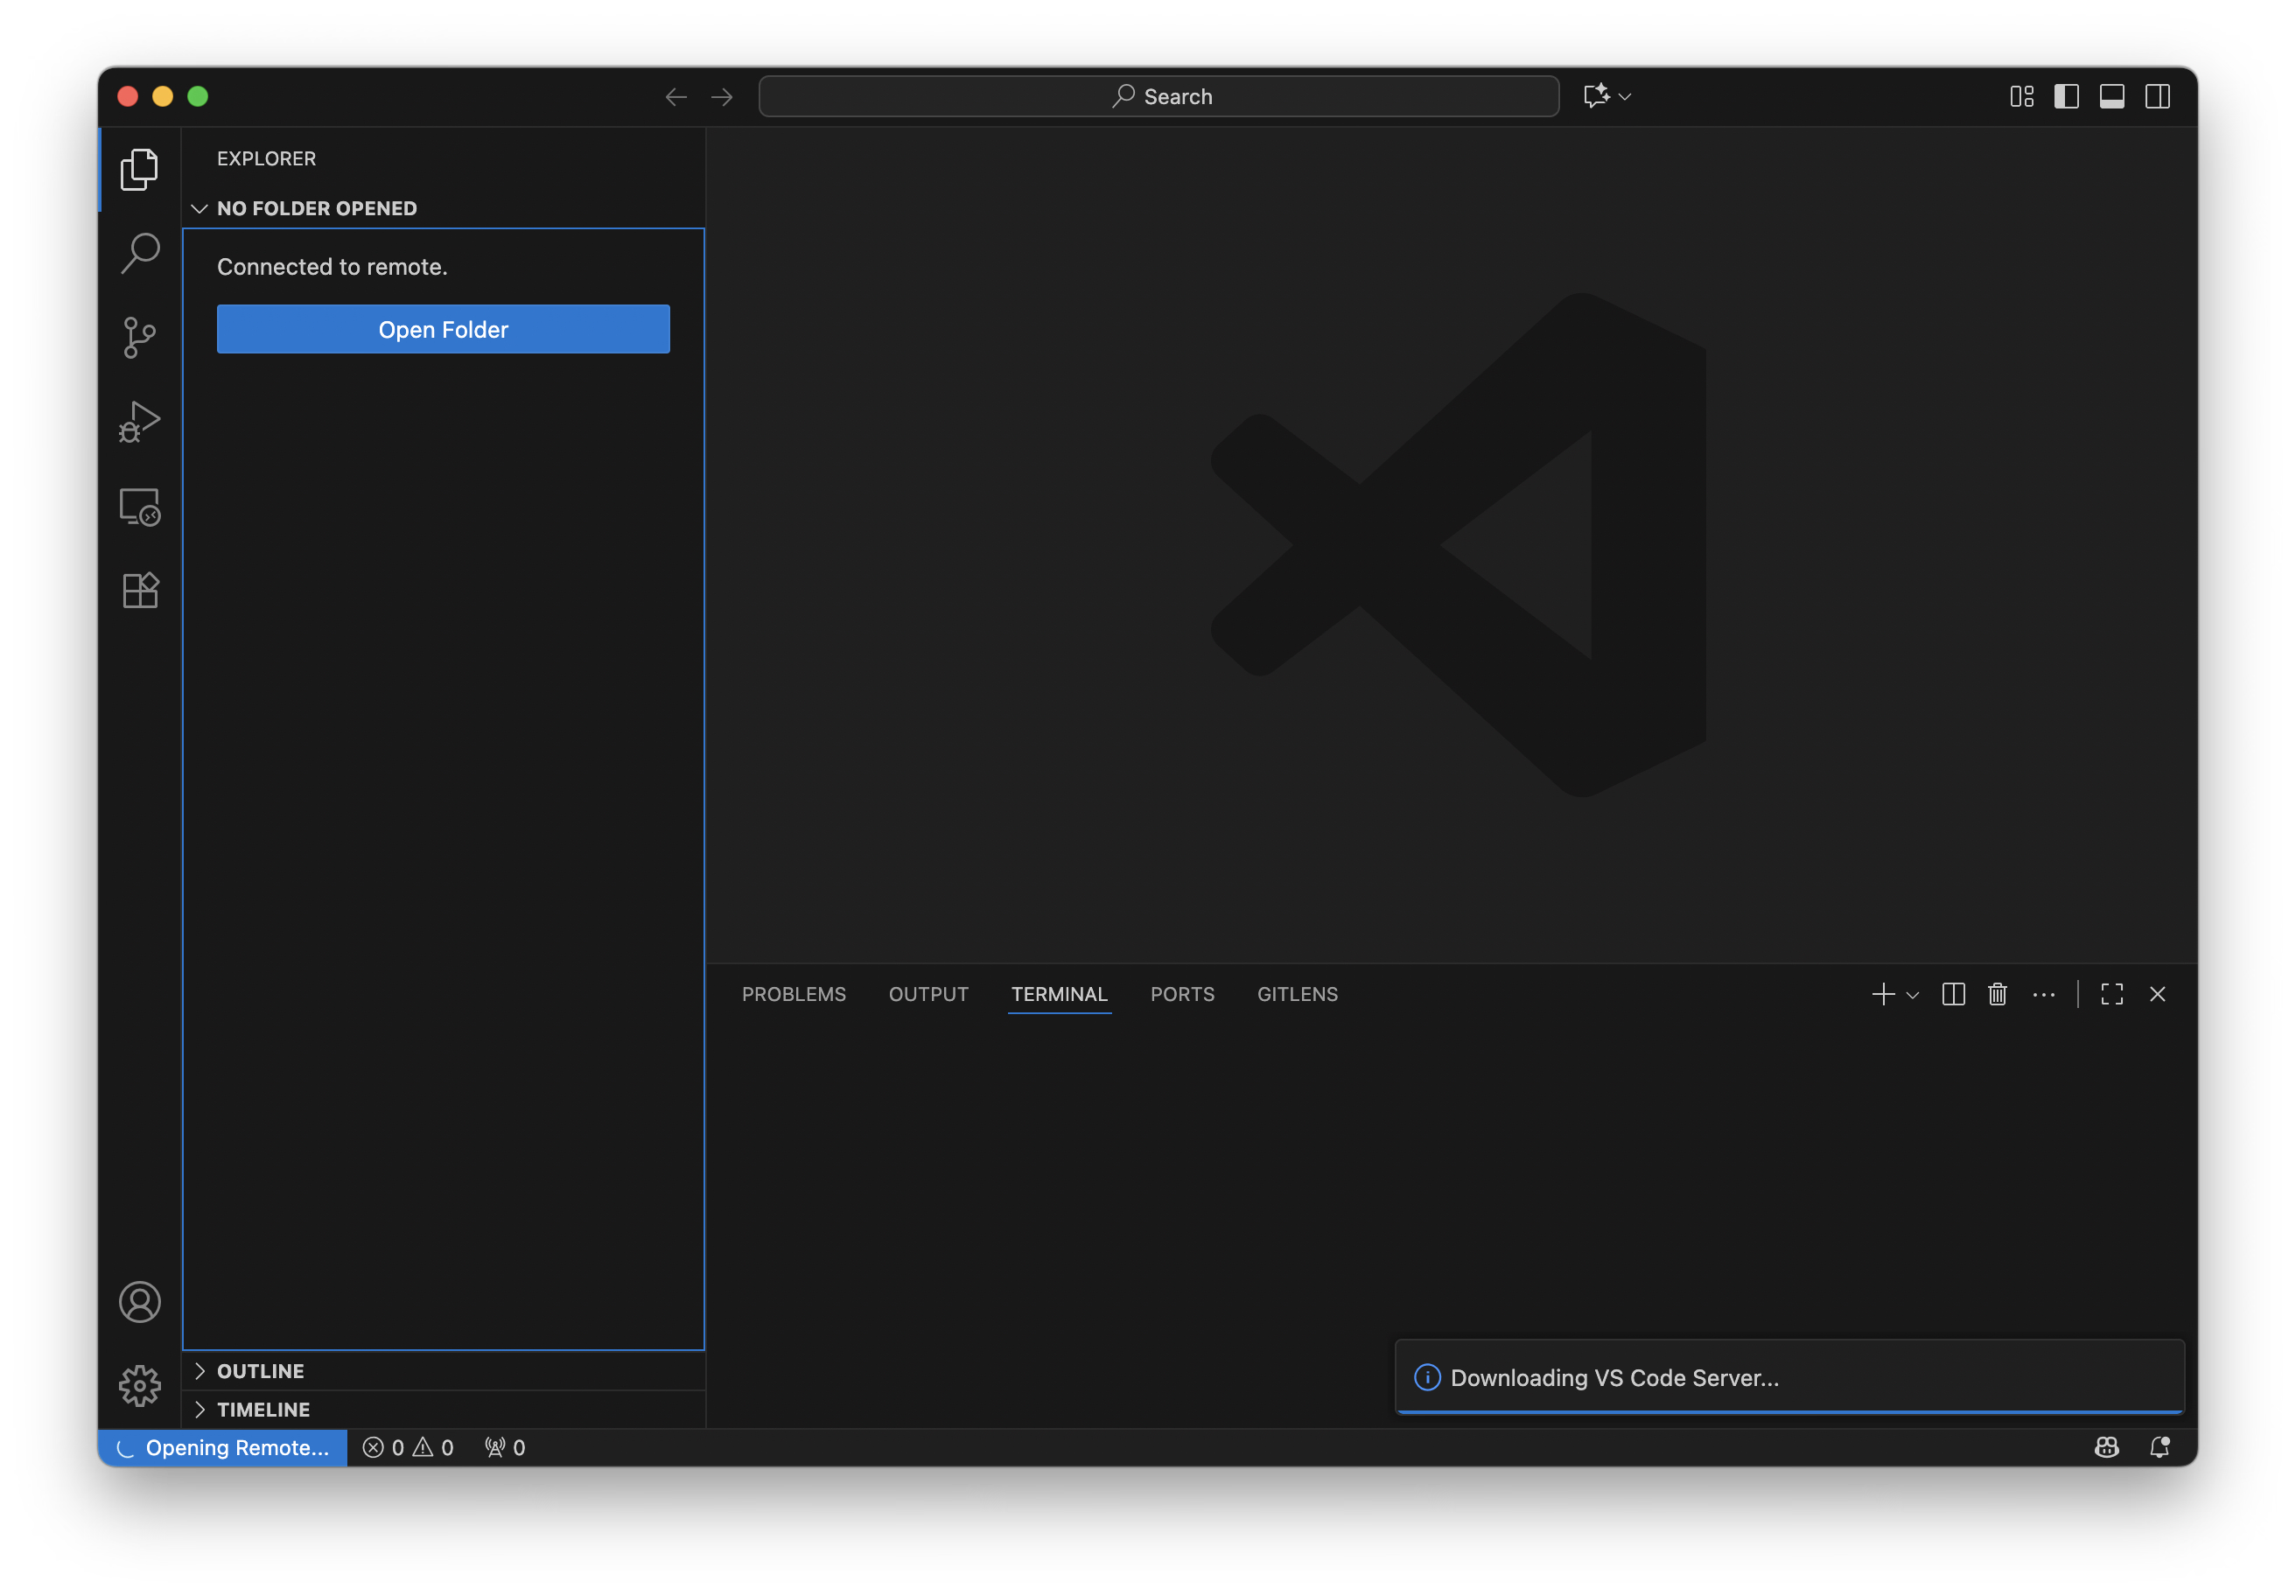
Once it starts connecting you’ll notice that the lower-blue bar will give you a status update, and a dialog box on the lower right will let you know about the status of loading the Visual Studio Code Server on the remote machine.
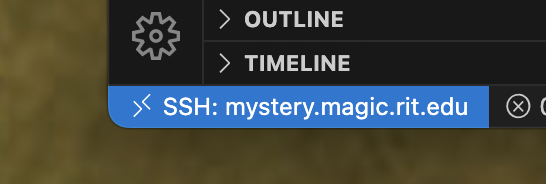
and when you’re finally connected, you’ll see the lower right status change —
Clicking on the Open Folder button gives you a slightly different GUI for picking, based more on the filesystem than the OS —
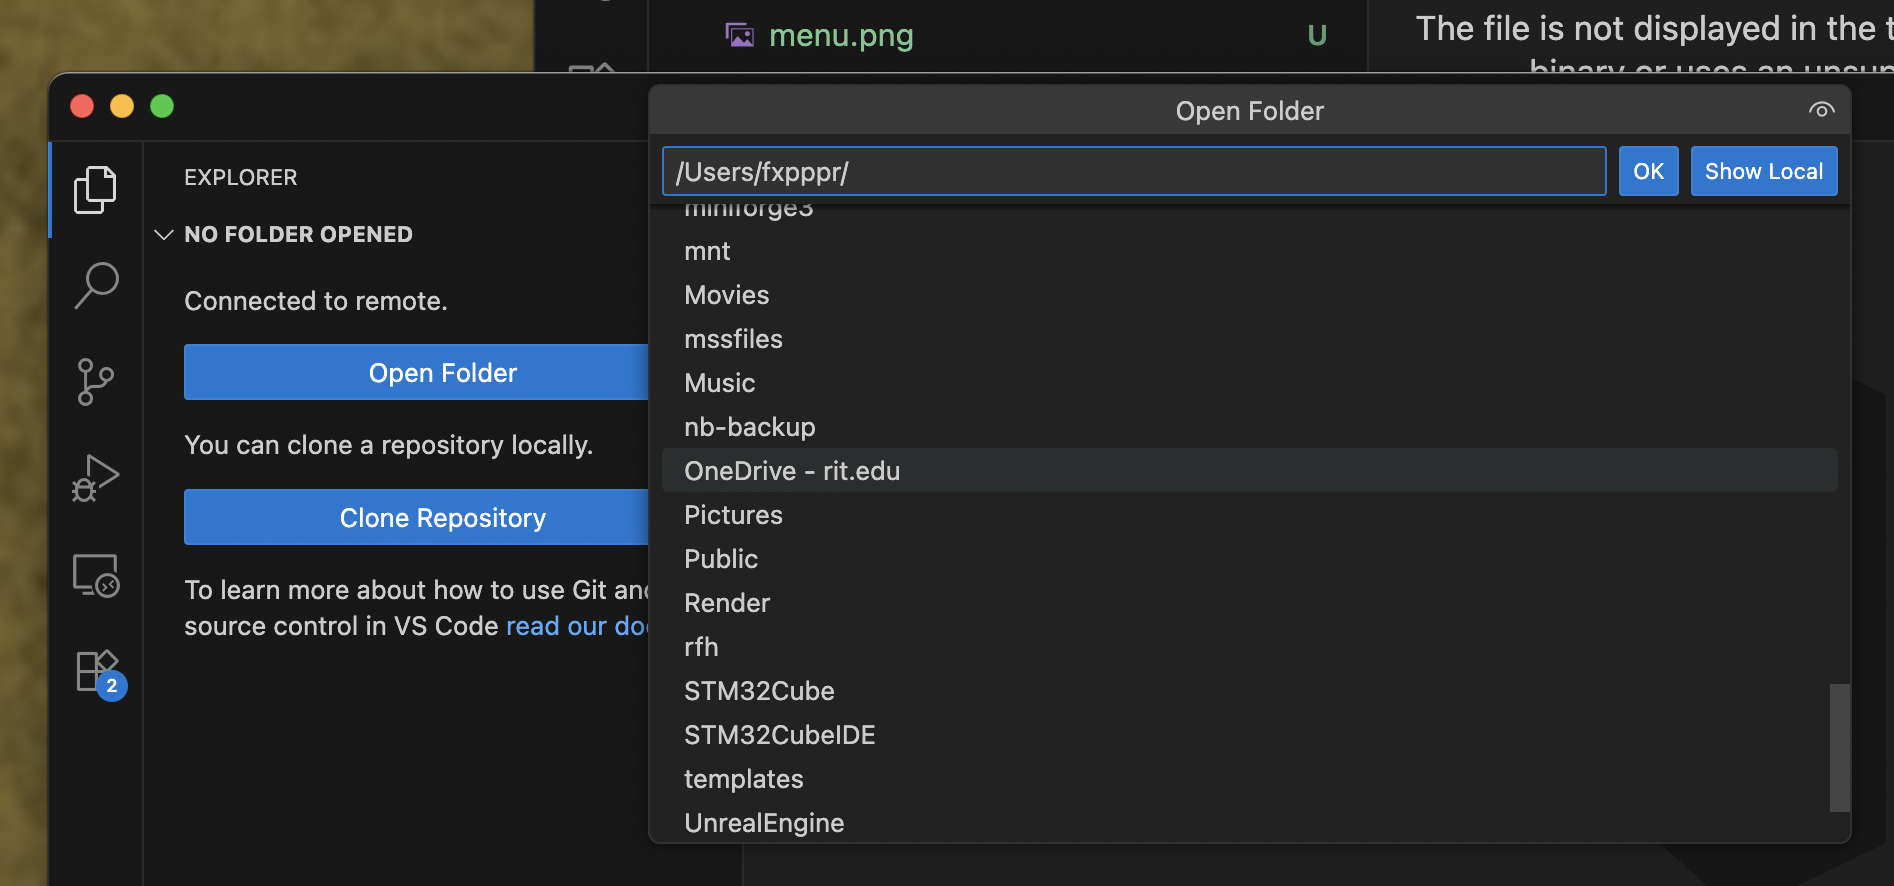
You can select a folder and edit it just like on your local host but the file has to be there in the first place! How do we do that?
Remote files
There are two easy ways to get files onto the remote host, the most practical is via GitHub. You can Clone Repository rather than opening a file, and it will put a copy right there for you.14
You can also drag & drop from (and to) your local machine into the sidebar on the left! That will copy files from/to the remote host. Useful if you have a bunch of non-repo files like training data, etc.
Here’s a video example —
If you prefer to stay in a terminal, there are other SSH-savvy tools that make copying and syncing straightforward —
scp— quick, secure copy; thinkcpbut between hosts, e.g.scp notebook.ipynb remote:/tmp/.15sftp— an FTP-like interactive shell for uploading/downloading over SSH.16rsync— keeps directories in sync efficiently and can resume partial transfers,rsync -avz data/ remote:projects/data/.17sshfs— mounts a remote directory locally so regular tools can read/write through SSH transparently.18
How — GitHub
NoteWork in Progress
This section is still being written. Check back soon for complete instructions on setting up SSH keys with GitHub.
GitHub uses SSH keys for authentication when you push and pull from repositories. This allows you to work with GitHub repositories without having to enter your username and password each time.
To add your SSH key to GitHub:
- Copy your public key to your clipboard:
λ cat ~/.ssh/id_ed25519.pub- Go to GitHub → Settings → SSH and GPG keys
- Click “New SSH key”
- Paste your public key and give it a descriptive title
- Test your connection:
λ ssh -T git@github.comFor a detailed walkthrough, see Setting up SSH keys for GitHub.
Once set up, you can clone repositories using SSH URLs:
λ git clone git@github.com:username/repository.gitNotes
Footnotes
The OpenSSH project provides the widely used SSH implementation and documentation — https://www.openssh.com/.↩︎
But not impossible. Of course, an entire ‘industry’ of study concerns itself with this, as you can easily imagine there being a good market for determining faults with such systems.↩︎
The OpenSSH project provides the widely used SSH implementation and documentation — https://www.openssh.com/.↩︎
My prompt on most machines is a lambda, λ. Yours is probably different.↩︎
e.g., The symmetric thing that
sshconnects to.↩︎Advanced lore for another time.↩︎
In numerical permissions, these are
622and600respectively.↩︎A way you can make sure someone has your key without revealing your key.↩︎
Unless weird things happen like keys change, machines get reformatted, etc. Also, if you’re super paranoid, you can obtain that
fingerprintfrom the owner of the machine and compare it. This is useful if you have to log in to a machine under someone else’s control and want to make sure you’re actually logging into the ‘right’ machine.↩︎And the remote host is set to accept passwords — It is possible to disable this requiring you to use your
sshkey instead.↩︎You can specify the username too if you need to, just like in
ssh.↩︎When we talked about giving the key its own password, this is what we were talking about. If someone can log into your host machine, they can log into a remote machine easily. Again, because you don’t leave yourself logged in, this isn’t a problem, right? But, if you’re worried or guarding the keys to Fort Knox, you can give the keys a password too. Hopefully something different than the password you usually use and probably repeate on too many machines tsk tsk.↩︎
One of those important files I mentioned above.↩︎
Note you need to be logged in to GitHub to push modifications back to the repository. That is yet another use of
sshkeys.↩︎scp(1)manual — https://man.openbsd.org/scp.↩︎sftp(1)manual — https://man.openbsd.org/sftp.↩︎rsync(1)manual — https://manpages.ubuntu.com/manpages/latest/man1/rsync.1.html.↩︎sshfs(1)manual — https://man.archlinux.org/man/sshfs.1.en.↩︎